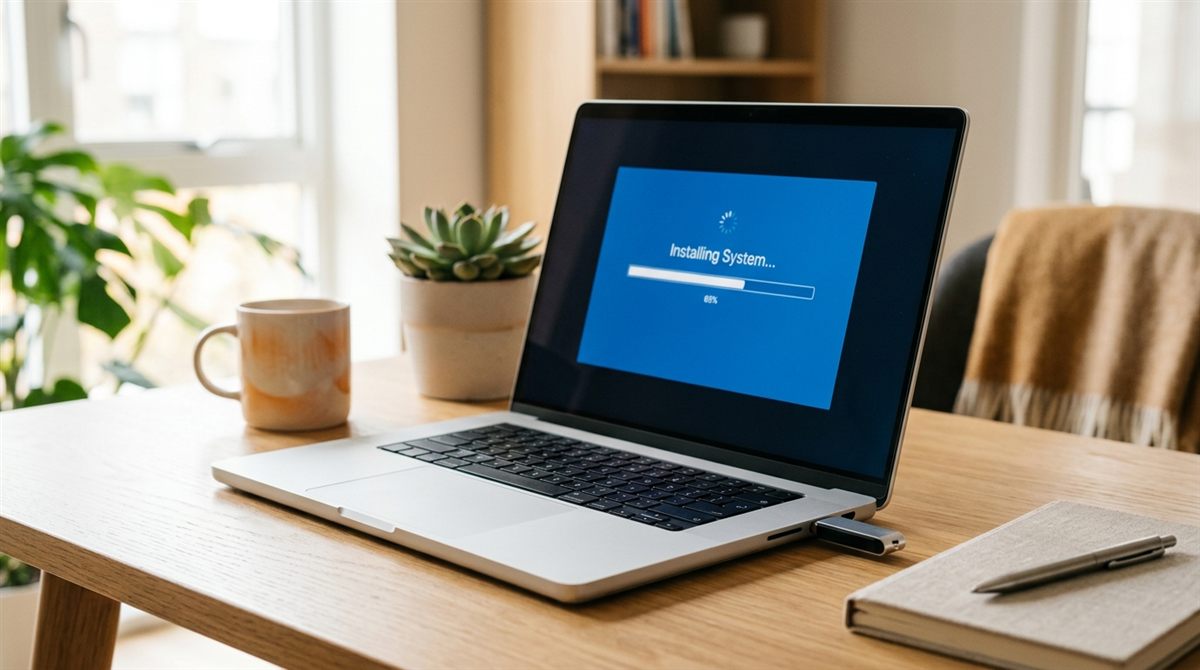
A clean install wipes the drive and installs a fresh copy of Windows 11, removing bloatware, malware and years of accumulated clutter. It’s more thorough than “Reset this PC”. Allow about an hour, plus time to reinstall apps.
Not sure you need a clean install? Reset this PC is easier and solves most problems. Choose a clean install when you’re replacing the SSD, removing stubborn malware, or want zero manufacturer software.
In this article
Before you start
- Back up everything: Documents, Desktop, Pictures, Downloads, browser bookmarks, game saves. A clean install erases the whole drive.
- Get your BitLocker recovery key (account.microsoft.com/devices/recoverykey) in case it’s requested.
- Note your licenses for paid software (Office, Adobe, etc.).
- Download your Wi-Fi driver from the laptop maker’s support site onto the USB stick, in case Windows doesn’t recognise the network adapter.
- Your Windows license: laptops that came with Windows reactivate automatically using a digital license stored in the firmware. You don’t need a product key.
Step 1: Make the installer
On any PC, download Microsoft’s Media Creation Tool from microsoft.com/software-download/windows11 and create a USB installer (8GB+ drive).
Step 2: Boot from the USB
Plug it in and boot from it using the boot menu key or Advanced startup. See how to boot from USB for every brand’s key.
Step 3: Install
- Choose language and keyboard, then Install Windows 11. Tick the acknowledgement that everything will be deleted when asked.
- If asked for a product key, click I don’t have a product key. Windows activates once online.
- Select the same edition the laptop shipped with (usually Home), or activation will fail.
- At the drive screen, delete all partitions on the internal drive (usually Drive 0) until it shows as “Unallocated space”, then select it and click Next. Windows creates the partitions it needs. Be careful if you have a second drive. Only delete partitions on the one you’re installing to.
- Wait while it installs and restarts a few times.
“We couldn’t find any drives”?
Many Intel laptops use Intel RST/VMD storage that needs a driver during setup. Download the Intel Rapid Storage Technology (F6) driver for your model from the manufacturer’s support page, extract it to the USB stick, and click Load driver. Alternatively, some BIOSes let you switch VMD off (but don’t change this on an existing install, or Windows won’t boot).
Step 4: Setup
Windows 11 Home requires an internet connection and a Microsoft account during setup. If Wi-Fi isn’t detected, install the Wi-Fi driver from your USB stick, or connect a USB Ethernet adapter or USB-tethered phone (see USB tethering).
Step 5: After installing
- Run Windows Update repeatedly until nothing is left, including Optional updates → Driver updates.
- Install your laptop maker’s support app (Lenovo Vantage, MyASUS, Dell SupportAssist, HP Support Assistant) or download drivers manually for the touchpad, audio, hotkeys and battery features like charge limits.
- Check Device Manager for anything with a yellow warning icon.
- Confirm activation: Settings → System → Activation.
- Restore your files and reinstall your apps.
Before you wipe the drive: back up your laptop and move your files.