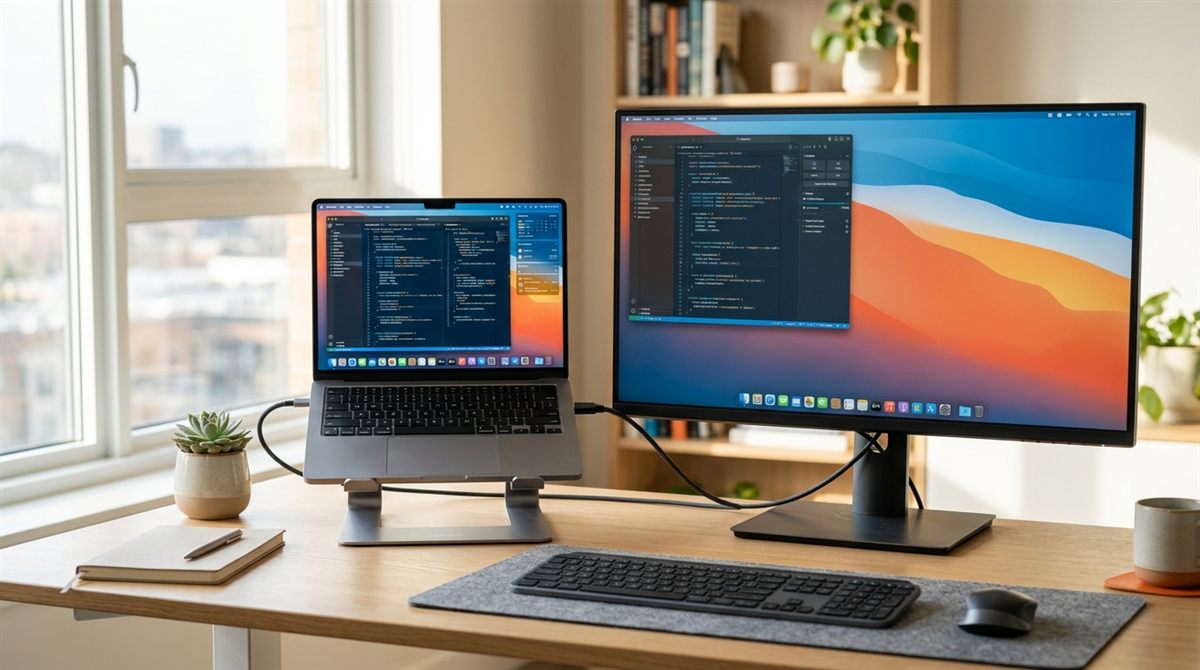
An external monitor is the best productivity upgrade for any laptop. A bigger screen at eye level means less squinting, less neck strain and room for side-by-side windows. Here’s how to connect one and set it up properly.
In this article
Step 1: Work out which port and cable you need
| Laptop port | Monitor input | Cable |
|---|---|---|
| HDMI | HDMI | HDMI cable (HDMI 2.0+ for 4K at 60Hz) |
| USB-C with DisplayPort / Thunderbolt / USB4 | USB-C | USB-C cable that supports video. Many monitors also charge the laptop over it. |
| USB-C with DisplayPort / Thunderbolt / USB4 | DisplayPort | USB-C to DisplayPort cable |
| USB-C with DisplayPort / Thunderbolt / USB4 | HDMI | USB-C to HDMI cable or adapter |
Important: not every USB-C port carries video. Look for a small DisplayPort (D) or Thunderbolt (lightning bolt) symbol next to the port, or check your laptop’s spec sheet. Budget laptops sometimes have data-only USB-C ports.
Need more ports, or want one-cable docking? See best USB-C hubs and docks.
Step 2: Connect and choose a display mode
- Connect the cable with the monitor powered on, and select the right input on the monitor (HDMI 1, USB-C, etc.).
- Press Win + P and choose:
- Extend: two separate screens (what most people want)
- Duplicate: the same image on both (presentations)
- Second screen only: turns off the laptop screen
Step 3: Set it up properly (Windows 11)
Go to Settings → System → Display:
- Arrange displays: drag the screen boxes to match their physical position, so your mouse moves naturally between them.
- Main display: click the monitor and tick Make this my main display to put the taskbar and new windows there.
- Resolution: use the “(Recommended)” native resolution.
- Scale: 100% for 24-inch 1080p, around 125–150% for 27-inch 4K, so text isn’t tiny.
- Refresh rate: Advanced display → choose the highest rate (e.g. 144Hz). Windows often defaults to 60Hz.
On a Mac
Connect via USB-C/Thunderbolt or HDMI, then open System Settings → Displays to arrange screens, set the main display and choose resolution. Note the external display limits for your model. The M5 MacBook Air supports two external displays, and dual-HDMI USB-C hubs will mirror rather than extend on a Mac. See our MacBook guide for details.
Troubleshooting: “No signal”
- Check the monitor’s input source.
- Try a different cable. Cheap USB-C cables often don’t carry video.
- Try a different port on the laptop.
- Press Win + Ctrl + Shift + B to restart the graphics driver.
- Go to Settings → System → Display → Multiple displays → Detect.
- Update your graphics driver (Intel, AMD, NVIDIA) and your laptop’s BIOS/firmware.
- Connect the monitor directly instead of through a hub, to rule the hub out.
Productivity tips
- Snap layouts: hover over a window’s maximise button (or press Win + Z) to arrange windows. See split screen on Windows 11.
- Move windows between screens: Win + Shift + Left/Right arrow.
- Raise the laptop on a stand next to the monitor so both screens are near eye level, or close the lid and use the monitor alone. See clamshell mode.
- Add a wireless keyboard and mouse for a proper desk setup. See our accessory picks.
Shopping for a monitor? See our picks for the best monitors for MacBook Air. The same 4K USB-C models work well with Windows laptops too.
Monitor flickering? See screen flickering fixes.