Dual-booting lets you keep Windows and install Linux alongside it, choosing which one to start each time you turn the laptop on. It’s the best way to try Linux properly without giving up Windows. This guide uses Ubuntu or Linux Mint, the most beginner-friendly options, but the process is similar for others.
In this article
Before you start
- Back up your files. Partitioning is safe when done carefully, but a mistake can wipe data.
- Get your BitLocker recovery key from account.microsoft.com/devices/recoverykey. Changing boot settings can trigger a BitLocker prompt. Some people turn off Device Encryption/BitLocker before dual-booting to avoid this.
- Free space: you’ll need at least 50GB free for Linux (100GB+ recommended).
- A USB drive of 8GB or more.
- Consider a second SSD if your laptop has a spare M.2 slot. Installing Linux on its own drive is the cleanest, safest way to dual-boot.
Step 1: Make space in Windows
- Right-click Start → Disk Management.
- Right-click your main C: partition → Shrink Volume.
- Enter the amount to shrink in MB (e.g. 102400 for 100GB) and click Shrink. Leave the new space as “Unallocated”.
Step 2: Turn off Fast Startup
Control Panel → Power Options → Choose what the power buttons do → Change settings that are currently unavailable → untick Turn on fast startup. This prevents Windows from leaving its drive locked, which can cause problems when accessing it from Linux.
Step 3: Create the Linux USB
Download the ISO from ubuntu.com or linuxmint.com, then write it to the USB with Rufus or balenaEtcher. See how to create a bootable USB.
Step 4: Boot from the USB and install
- Boot from the USB (Settings → System → Recovery → Advanced startup → Use a device, or your laptop’s boot menu key).
- Secure Boot can stay on. Ubuntu, Mint and Fedora all support it.
- Choose “Try” first to check that Wi-Fi, the touchpad, sound and display work on your laptop.
- Run the installer. When asked about installation type, choose Install alongside Windows Boot Manager if offered. It uses the free space automatically. Otherwise choose the manual option and install into the unallocated space you created (with an ext4 partition mounted at “/”).
- Finish the installer and restart.
Step 5: Choosing between Windows and Linux
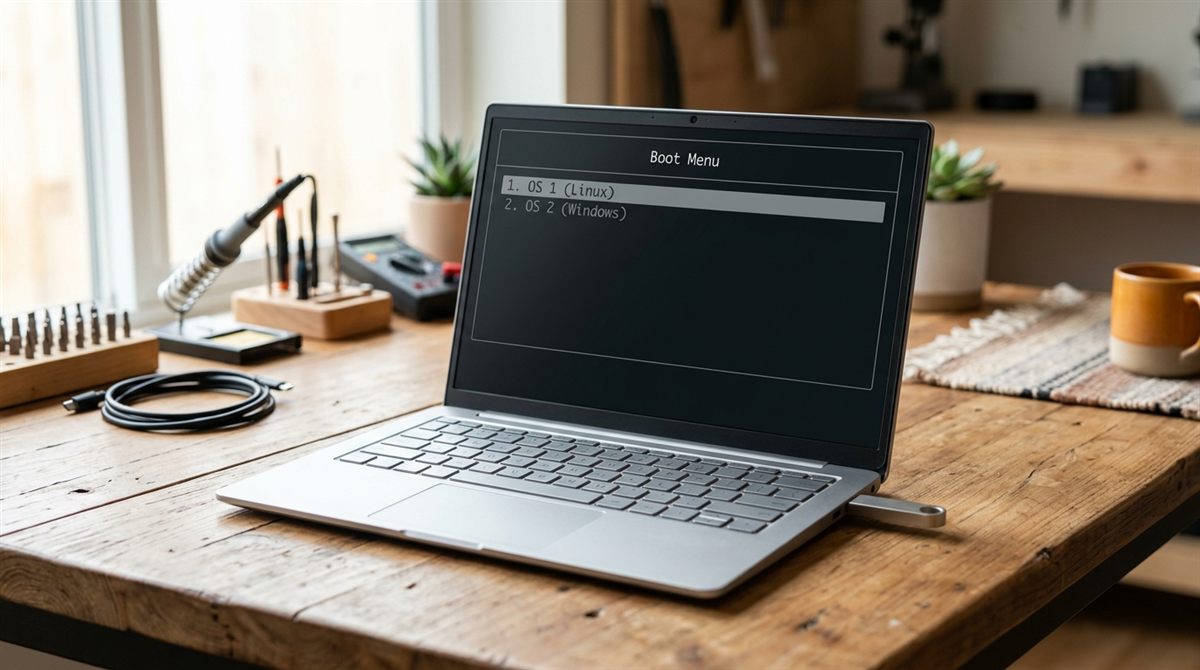
After installing, a menu (GRUB) appears at startup, letting you choose Ubuntu/Mint or Windows Boot Manager. If the laptop boots straight into Windows, enter the BIOS (F2/F1/Del) and move the Linux entry (“ubuntu”) above Windows Boot Manager in the boot order.
Common problems
- Clock wrong in Windows after using Linux: run
timedatectl set-local-rtc 1 --adjust-system-clockin Linux. - Installer can’t see the drive: many Intel laptops use Intel RST/VMD mode. Switching it to AHCI in the BIOS makes Windows unbootable unless you prepare Windows first, so search “switch RST to AHCI without reinstalling Windows” for your model before changing it.
- Wi-Fi not working: connect via Ethernet or USB tethering from your phone and install updates. Most drivers come with system updates.
- Removing Linux later: delete its partitions in Windows Disk Management, extend C:, and remove the “ubuntu” entry with
bcdeditor your BIOS boot menu.